How Long to Pressure Cook Roast Beef in 5 Simple Steps
Many home cooks struggle with perfectly tender roast beef, often ending up with overcooked or tough results. If you’re looking for a stress-free way to cook roast beef that’s juicy and flavorful, you’re not alone. Pressure cooking can be a game-changer, making this process easier and faster.
To pressure cook roast beef in five simple steps, start by choosing the right cut and size and then set your pressure cooker to high. Cook for about 20-25 minutes per pound, adjusting based on tenderness preferences.
Keep an eye on the internal temperature—135°F for medium rare or higher for well done.
Allow for natural pressure release, then check doneness and season as needed. Keep these tips in mind, and you’ll be able to perfect your roast every time with minimal effort.
Key Takeaways
- Cook at high pressure for about 20-25 minutes per pound of beef.
- Use natural pressure release and let the meat rest for 10 minutes after cooking.
- Pick the right cut: tougher cuts need longer cooking, while tender cuts need less time.
- Check the internal temperature: medium rare is at 135°F, well done is at 160°F or higher.
- Adjust the cooking time if the meat isn’t tender, and season it before cooking for more flavor.
How to Determine the Perfect Pressure Cooking Time for Roast Beef
When figuring out the ideal pressure cooking time for roast beef, start by considering the size and cut of the meat. Different cuts need different cooking temperatures to reach that perfect balance between flavor and tenderness.
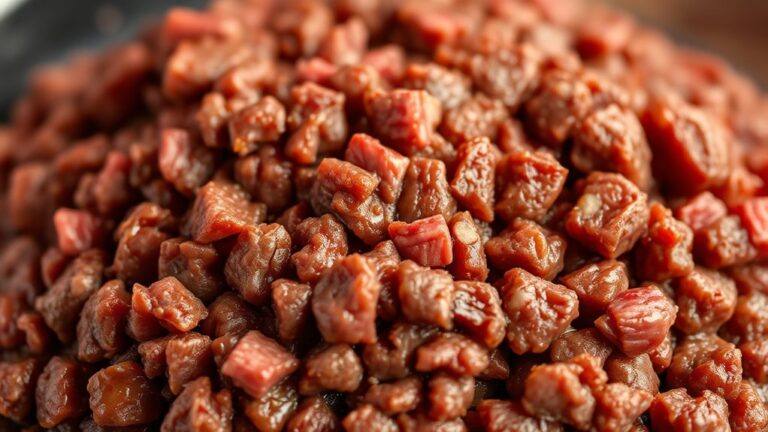
For tougher cuts like chuck or brisket, you’ll want a longer cook time at a moderate pressure to break down connective tissues. For tenderer cuts, like sirloin or round, shorter cooking times are enough if you want a juicier result.
Consistently monitoring the cooking temperature helps guarantee the meat’s internal temperature reaches the right level, promoting the desired tenderness. Remember, the key is gradual, even heat to prevent overcooking and preserve moisture.
Adjust your pressure and time based on the size of the meat, but always aim for a temperature high enough to tenderize without drying out the beef. Proper timing ensures juicy, tender roast beef every time.
Factors That Affect How Long Roast Beef Takes in a Pressure Cooker
Several key factors directly influence how long roast beef needs to cook in a pressure cooker, and understanding them helps you achieve tender, juicy results.
First, cooking temperature plays a role. Higher pressure and temperature generally speed up cooking, but if it gets too high, the meat can dry out.
Higher pressure speeds cooking but risks drying out the meat if it gets too high.
Second, the cut of beef makes a big difference. Tougher cuts like chuck need longer cooking times, while tender cuts like sirloin cook faster.
The size and thickness of the roast also matter. Larger or thicker pieces take more time to cook evenly.
Plus, the amount of liquid in the cooker influences pressure build-up and how long it takes to cook.
It’s important to think about all these factors together so you can adjust cooking times accordingly.
Different cuts respond differently to pressure cooking, so matching the method to the right cut helps you get the best tenderness and flavor without overdoing it.
A Step-by-Step Guide to Pressure Setting and Timing for Roast Beef
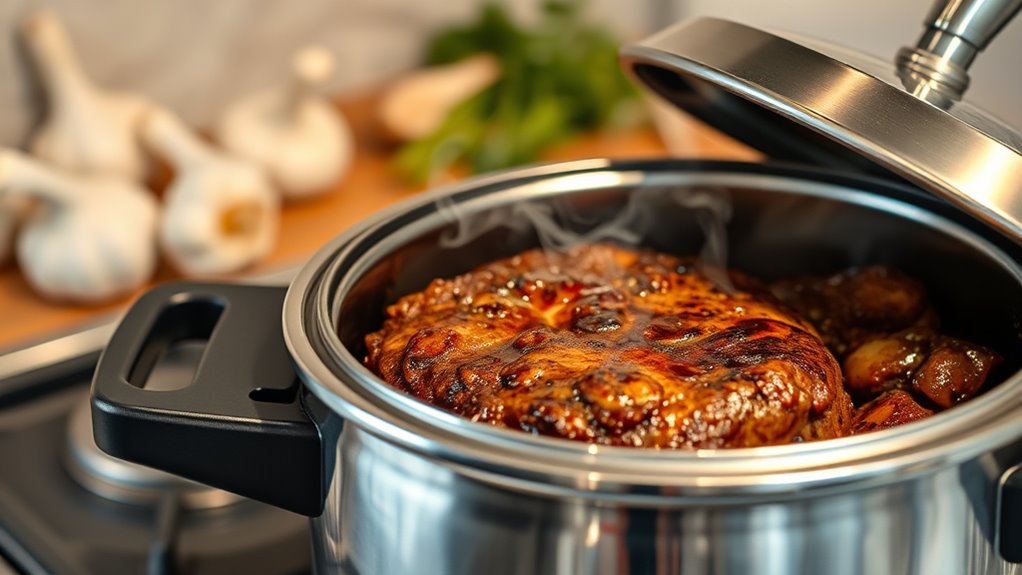
To achieve perfectly cooked roast beef in your pressure cooker, understanding how to set the right pressure level and timing is key. Usually, high pressure gives the best results for tender meat, but check your pressure cooker’s manual for specific advice.
A typical method is setting the cooker to high pressure and cooking the roast for about 20 to 25 minutes per pound. The exact time depends on how thick the meat is and your preferred level of doneness.
For added flavor, try seasoning the roast with garlic, rosemary, or paprika before pressure cooking. These simple touches can really enhance the taste.
Once the cooking time is up, let the pressure release naturally for 10 minutes. After that, do a quick release of any remaining pressure to keep the meat juicy.
After cooking, slice the roast and serve it with your favorite sides. Leftovers are great for sandwiches or salads, just add your favorite herbs or sauces for extra flavor.
Getting the pressure and timing right is crucial for a juicy, flavorful roast beef that turns out perfect every time.
How to Check Roast Beef Doneness and Adjust Cooking Time if Needed
Checking the doneness of roast beef after pressure cooking is key to making sure it’s cooked just right. Use a meat thermometer to check the internal temperature. Medium rare is around 135°F, and well done is 160°F or higher.
If it’s not quite there, reseal the pressure cooker and cook in short bursts. You can also spice things up by adding herbs or spices if your roast needs a bit more time for better flavor.
Let the meat rest for about 10 minutes before slicing. This helps keep the juices in and makes it look nicer on the plate. If your beef is too rare or undercooked, just extend the cooking time a little.
Be careful not to overcook it, though, to avoid dryness. Remember, adjusting cooking times based on your roast’s size and shape helps you get tender, flavorful results every time.
Troubleshooting Common Pressure-Cooked Roast Beef Problems
Sometimes, pressure-cooked roast beef doesn’t turn out quite right, but most issues can be fixed with a few simple adjustments. If your meat lacks flavor, try adding more seasoning or using broth to boost the taste.
Fix flavor issues by adding extra seasoning or broth for richer, tastier pressure-cooked roast beef.
Make sure you’re using the right cooking time. Undercooking can leave the beef tough, while overcooking makes it dry. Adjust the time based on the size and cut of the meat to get it just right.
If the texture isn’t quite right, consider slicing the beef thinner or letting it rest for a few minutes before serving. Resting helps distribute the juices and improves tenderness.
For leftovers, follow proper storage guidelines: keep roast beef in airtight containers in the fridge for up to three days, or freeze it if you want to store it longer. This helps prevent spoilage and keeps the flavor intact.
To make future batches taste even better, try marinating the beef beforehand or adding herbs and spices during cooking. These little tweaks can make a big difference in flavor.
Troubleshooting these common problems can help ensure your pressure-cooked roast beef turns out delicious, tender, and enjoyable every time.
Frequently Asked Questions
Can I Cook Frozen Roast Beef in a Pressure Cooker?
Yes, you can cook frozen roast beef in a pressure cooker, but be careful. Make sure to add extra cooking time so the meat gets cooked through and reaches a safe internal temperature.
Safety is key, so don’t overfill the cooker and always check that the pressure releases properly. It’s better to thaw the roast first for even cooking, but if you’re in a hurry and cooking from frozen, just adjust the timing accordingly.
What Size Pressure Cooker Is Best for Roasting Beef?
A 6-quart pressure cooker is a great pick for roasting beef. It offers enough space without sacrificing pressure, making it a very balanced choice.
Think of it as the Goldilocks option—just right for even cooking and tender results. When choosing a size, keep in mind cooking times and seasoning tips.
A larger cooker helps ensure even heat distribution and room for flavor infusions. On the other hand, smaller units might crowd your roast, which can lead to uneven results and longer cooking times.
Is It Necessary to Sear the Beef Before Pressure Cooking?
You don’t have to sear the beef before pressure cooking, but it’s highly recommended. Searing adds flavor and depth by caramelizing the meat’s surface and creating a richer taste.
It also helps develop a nice crust that makes your dish more visually appealing. If you’re in a hurry, skipping the searing step won’t ruin your roast.
However, for the best flavor and presentation, taking a few extra minutes to brown the beef beforehand is definitely worth it.
How Do I Prevent the Beef From Drying Out?
To prevent the beef from drying out, focus on proper cooking time and keeping it moist. Make sure to stay within the recommended pressure cooking times—overdoing it can lead to dryness.
Add enough liquid to generate steam and keep the beef juicy. Using natural pressure release helps lock in moisture.
Cover the beef tightly to prevent moisture from escaping, and consider marinating it beforehand for extra tenderness.
Following these steps will help your roast stay tender, flavorful, and juicy throughout cooking.
Can I Use Alternative Liquids Besides Water or Broth?
You can absolutely use alternative liquids besides water or broth; it’s like discovering new flavors in your cooking adventure. Using apple cider, red wine, or even unsweetened fruit juices introduces rich, unexpected flavor variations.
These options can really elevate your roast beef by adding complexity and depth, turning a simple dish into something special. Just keep in mind to balance the acidity and make sure there’s enough liquid for proper pressure cooking.
Conclusion
By following these simple steps, you’ll turn your pressure cooker into a magic wand, transforming tough cuts into melt-in-your-mouth roast beef in no time.
Keep an eye on the timing and doneness, and you’ll end up with a meal so tender and flavorful, it’ll make your taste buds dance.
With a bit of practice, you’ll master this foolproof method, ensuring every roast beef dinner is utterly unforgettable.
Your secret weapon for perfect, juicy roast beef every time!