How to Make Beef Gravy From Beef Drippings in 7 Simple Steps
Many home cooks find themselves wanting a rich, flavorful beef gravy but aren’t sure how to make it from scratch. You’re not alone—perfect gravy can seem intimidating, but with a few simple steps, you can turn beef drippings into a delicious sauce. If you want to elevate your meal with homemade gravy, keep reading.
To make beef gravy from drippings, start by gathering the drippings, flour, broth, and seasonings. Understand that the drippings add rich umami flavor and fats that form the base. Use a thickener like flour for a smooth texture and deglaze the pan with broth or wine to loosen flavorful bits.
Simmer until it thickens, then taste and adjust seasonings. Serve hot, and if you want to master every step, there’s more to uncover below.
Key Takeaways
- Collect beef drippings and remove excess fat if needed, then cook flour into the drippings to make a roux. This creates a rich base for your gravy.
- Use a liquid like broth or wine to deglaze the pan, scraping up all those flavorful browned bits stuck to the bottom. It adds depth to your gravy.
- Whisk in more broth gradually until you reach the consistency you want, aiming for a smooth, velvety finish.
- Season the gravy with salt, pepper, herbs, and optional flavorings like Worcestershire sauce or other herbs to taste.
- Let it simmer briefly to develop more flavor. Once ready, serve it hot over meats, potatoes, or stuffing.
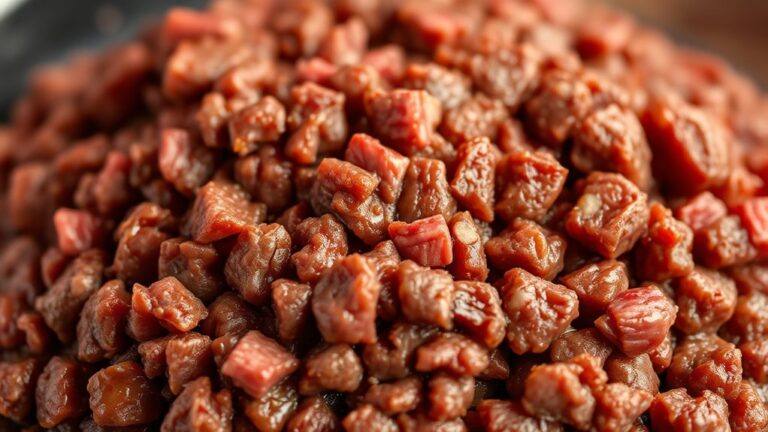
Gather Your Beef Drippings and Ingredients
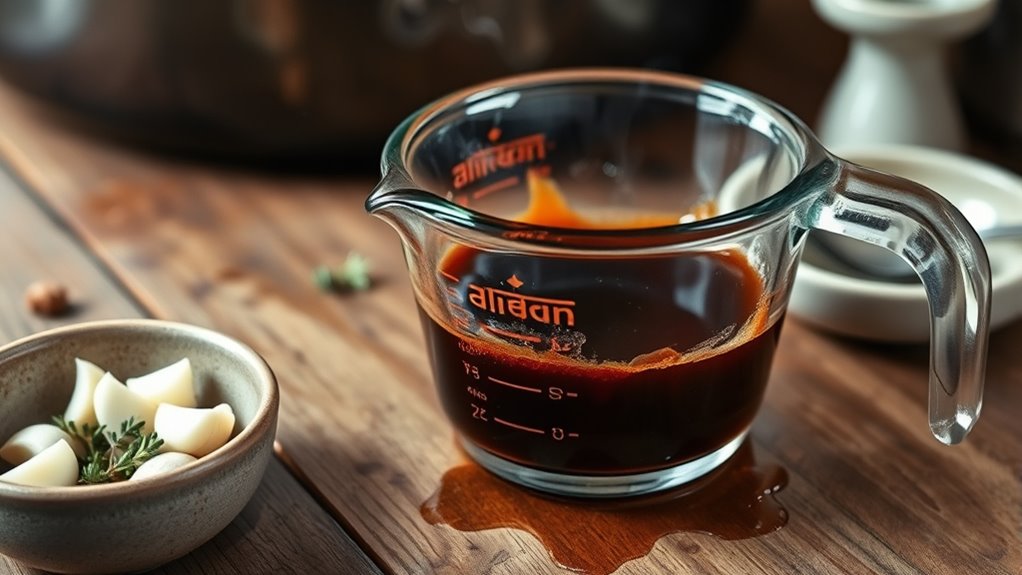
Gather beef drippings, flour, broth, and seasonings for a flavorful, smooth gravy.
Before you start making the gravy, it’s important to gather your beef drippings and ingredients. First, collect the beef fat left in your roasting pan or skillet after cooking your meat. This beef fat is essential because it’s what gives your gravy its rich flavor.
You’ll also need a gravy spread, which is a mixture of flour and fat to thicken the sauce. Keep some broth or stock handy to add moisture and flavor. For seasoning, gather salt, pepper, and any herbs you prefer, like thyme or rosemary, to boost the depth of your gravy.
Make sure your cooking tools, such as a whisk or spoon, are nearby for stirring. The key is to have everything ready before you start cooking so you can smoothly combine the beef fat and other ingredients without interruption.
Having your ingredients organized makes the process quick and efficient, leading to a perfectly flavored beef gravy.
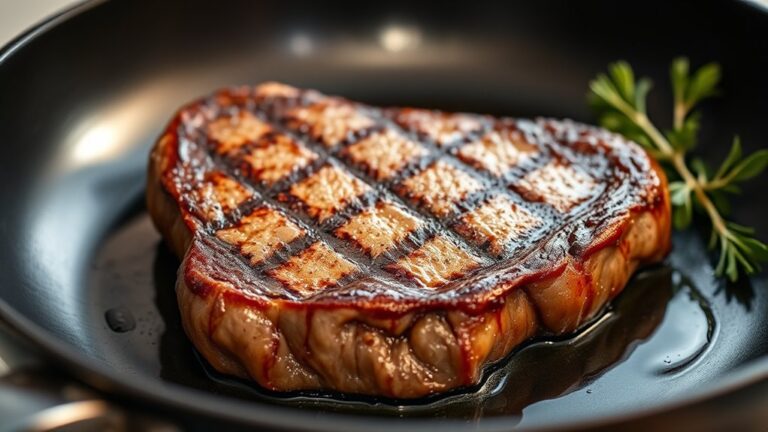
Understand How Beef Drippings Make Delicious Gravy
Beef drippings are the flavorful foundation of a rich, savory gravy because they contain concentrated meat juices and fats that develop during roasting. These drippings are packed with natural umami, giving your gravy depth and a satisfying richness.
As you cook, heat draws out the flavors from the meat’s surface, creating a mixture of juices and fats that serve as the building blocks of your gravy. When you add liquids like broth or water, these drippings dissolve, infusing the liquid with their savory essence.
This process results in a flavorful base that amplifies the overall taste of your gravy. The more flavor you extract from the drippings, the richer and more complex your gravy becomes.
Understanding how beef drippings contribute to this process helps you appreciate their importance in creating a delicious, homemade beef gravy from scratch.
Choose the Best Thickener for Your Beef Gravy
Choosing the right thickener is key to getting a smooth, velvety texture in your beef gravy. You have several options, depending on your preferences and dietary needs.
Cornstarch is a popular choice. Just dissolve it in cold water before adding it to hot gravy, which gives a shiny, glossy finish. Flour is a classic option—whisk it into fat or water to make a roux, then stir into the gravy to thicken.
Arrowroot powder is a gluten-free alternative. It works similarly to cornstarch and results in a clear, shiny sauce. Modern techniques include simmering the gravy until it naturally thickens or adding pureed vegetables for extra flavor and texture.
Each method provides a different consistency and flavor profile. Your choice depends on whether you want a smooth, glossy gravy or a more rustic, hearty one. Try these options to see what best complements your beef drippings and dish.
Deglaze the Roasting Pan for Maximum Flavor
Sure! Here’s a more conversational version of the text:
When you’re ready to deglaze the roasting pan, pick a liquid that goes well with your gravy—like wine, broth, or even water. Just gently scrape up all those tasty browned bits stuck to the bottom, being careful not to scratch the surface. That’s where all the flavor is! After you’ve loosened everything up, let the liquid simmer a bit until it reduces a little and becomes rich with the savory goodness from the pan drippings.
Choose Appropriate Deglazing Liquid
After removing the roast from the pan, it’s important to choose a deglazing liquid that will lift all the flavorful browned bits stuck to the bottom. You want something that enhances the rich, savory flavors in your gravy.
Common options include wine, broth, or sherry, which add depth and complexity. For a different twist, try apple cider or balsamic vinegar for unique flavor pairings.
The type of liquid depends on your taste and the overall dish, so don’t hesitate to experiment. The goal is to lift those tasty browned bits without overpowering them.
This step creates the foundation for a delicious, well-rounded gravy. Select your deglazing liquid thoughtfully to maximize flavor and versatility.
Scrape Pan Residue Gently
Why is it essential to scrape the pan residue gently? Because using too much force can damage the pan or stir up burnt bits that may ruin your gravy’s flavor. Gentle scraping helps you lift the maximum flavor from the pan residue without disturbing the pan’s surface.
Loosen caramelized bits without scraping too hard. Use a wooden spoon or spatula for controlled pressure. This way, you can collect flavorful bits without breaking or scratching the pan’s surface.
It’s important to avoid dislodging burnt or stuck-on debris too roughly. You want to preserve the quality of the drippings for a rich, tasty gravy. Gentle scraping keeps everything intact and flavorful.
Simmer for Rich Flavor
Once you’ve scraped the pan residue, simmering the liquid helps unseal even more flavor from the browned bits stuck to the bottom. This simple step *amplifies* the overall flavor of your gravy, making it richer and more complex.
Using this technique dissolves the caramelized bits and releases their savory depth into the liquid. As you simmer, the flavors concentrate, creating a more intense base for your gravy.
Keep the heat gentle and stir occasionally to prevent burning. This allows the flavors to meld and maximizes the umami in your beef drippings, giving your gravy a robust, authentic taste.
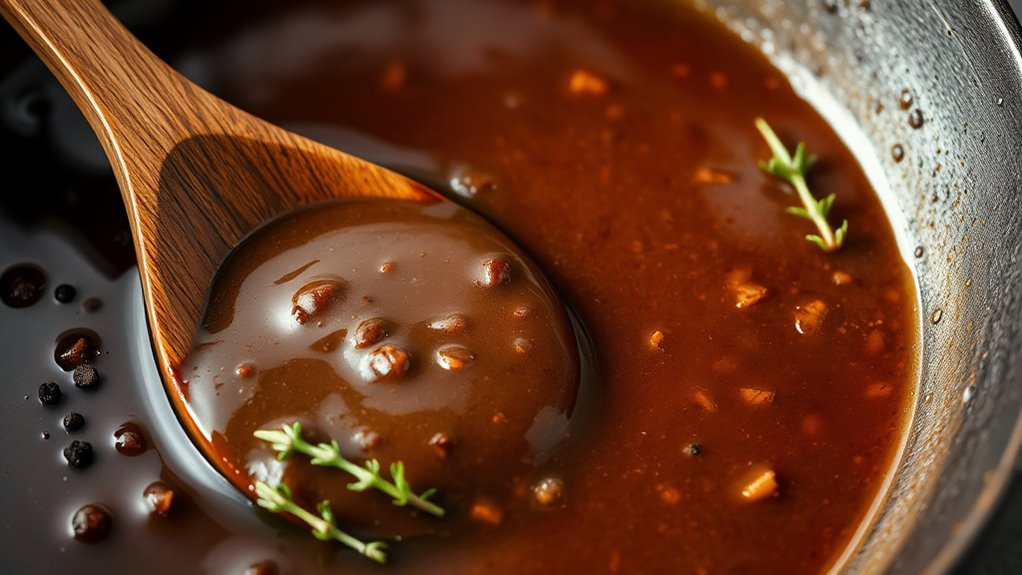
Simmer and Thicken Your Gravy to Perfection
To achieve the perfect consistency, simmer your gravy gently and keep a close eye on it as it thickens. This slow process helps flavors meld and creates a rich, velvety texture. Be careful to prevent burning or over-thickening.
Simmer gravy gently, watch carefully, and stir often for a rich, smooth, and perfectly thickened sauce.
Stir frequently to distribute heat evenly. Use a whisk when adding starch to prevent lumps and keep the texture smooth. Keep the heat low for a gentle simmer.
Add small amounts of thickener gradually, so you can control the consistency. If your gravy gets too thick, thin it out with a little more broth or water.
For extra flavor, taste your gravy and adjust with a splash of beef broth or some spices. If you need a substitute for flour, arrowroot or cornstarch works well to thicken smoothly.
Following these tips will help you get the perfect gravy every time—rich, flavorful, and just the right consistency to elevate your meal.
Season and Adjust the Flavor of Your Beef Gravy
Taste your gravy and see how it is. If you find it’s too salty or maybe a bit bland, don’t worry—you can fix that. Just add some seasonings like pepper, garlic, or your favorite herbs. Remember to go slow and adjust little by little so you don’t overdo it.
Keep tasting as you go along. That way, you’ll make sure your gravy ends up perfectly seasoned and full of flavor. It’s all about finding that sweet spot to make your dish really stand out!
Taste and Balance
Balancing the flavor of your beef gravy is key to getting that rich, delicious taste. Make sure to taste it often as you go so you can adjust accordingly.
If it’s too salty, just add a splash of water or beef broth to tone it down. For a deeper flavor, stir in a teaspoon of Worcestershire sauce or a bit of soy sauce.
If it feels dull, a small pinch of salt or a dash of pepper can help bring it to life. Adding a splash of vinegar or lemon juice adds a bright, tangy note.
Incorporate Seasonings
Adding the right seasonings can really boost your beef gravy by enhancing its depth and complexity. Herbs and spices play a vital role in flavor, giving your gravy a richer aroma and taste.
Think about adding a pinch of thyme or rosemary for earthy notes, or a dash of black pepper for some spice. Garlic powder or onion powder can also deepen the savory profile.
Always taste and adjust gradually — it’s easier to add more than fix over-seasoning. If you want a subtle heat, a touch of cayenne or paprika works well.
Serve Your Homemade Beef Gravy and Enjoy
Once your homemade beef gravy is ready, it’s time to serve it hot over your favorite dishes. To get the most out of your beef gravy tips, focus on presentation and pairing.
Pour it generously over roasted meats, mashed potatoes, or stuffing to boost flavor. Using a gravy boat or a small bowl can give it a polished look.
Let the gravy rest for a few minutes after cooking; it will thicken slightly and taste better. If it’s too thick, add a splash of warm beef broth and whisk until smooth.
Remember, good beef gravy warms your entire meal and turns simple dishes into comfort food favorites. Keep a spoon nearby for easy drizzling or adjusting portions.
Whether you’re serving Sunday roast, steaks, or biscuits, your homemade beef gravy makes every bite special. It’s all about balancing flavors and presentation to really shine at the table.
Frequently Asked Questions
Can I Make Beef Gravy Without Pan Drippings?
Yes, you can make beef gravy without pan drippings.
If you don’t have drippings, try using vegetable substitutes like sautéed mushrooms or onion powder for flavor.
Alternatively, store-bought gravy can be heated and thickened with a little cornstarch or flour for a quick fix.
These options still give you a flavorful beef gravy even if you don’t have the pan drippings.
How Long Does Homemade Beef Gravy Last in the Fridge?
Homemade beef gravy lasts about 3 to 4 days in the fridge if stored properly. For the best flavor, keep it in an airtight container and cool it quickly.
You can experiment with flavor variations like adding herbs, garlic, or wine before storing. Follow storage tips to preserve quality, and always reheat thoroughly.
If it develops a strange smell or appearance, it’s best to discard it.
Can I Freeze Beef Gravy for Later Use?
Yes, you can freeze beef gravy for later use, but keep in mind that herbs and spices might lose some of their flavor over time.
Freezing is a good way to store gravy and keep it fresh longer than in the fridge. Just put it in airtight containers, and leave some space for expansion.
Reheat the gravy gently so you don’t lose its richness. Freezing is super handy for enjoying homemade beef gravy on busy days.
What Are Some Alternative Thickeners for Beef Gravy?
You can use alternative thickeners like cornstarch, arrowroot, or potato starch to thicken your beef gravy.
For vegetarian or gluten-free options, try adding pureed cooked vegetables such as carrots, onions, or mushrooms.
These veggie substitutes not only thicken but also *improve* flavor. Just whisk your chosen thickener into the hot gravy gradually, simmer until it thickens, and you’re all set with a delicious, gluten-free, or veggie-*boosted* gravy.
How Do I Store Leftover Beef Drippings Safely?
To store leftover beef drippings safely, let them cool down after rendering.
Transfer the drippings into an airtight container and seal it tightly to keep out contaminants.
Label the container with the date before storing it in the refrigerator for up to three days.
For longer storage, you can freeze the drippings.
Properly stored, they stay flavorful and fresh for future cooking.
Conclusion
Now that you’ve mastered these simple steps, your beef gravy will elevate every meal with rich, savory depth. But don’t stop here—there’s a whole world of flavor possibilities waiting to be explored.
Will your next batch be perfectly seasoned or secretly spiced with an unexpected twist? Keep experimenting and trust your palate. The secret to truly memorable beef gravy is just a simmer away—ready to surprise and delight you each time.